
Just a quick run-through for now. I'll write up something more extensive later on.
There are four screens to the program. Each one performs a different task. Let's follow along.
This is the first screen you see, and probably the one that you'll use most often. It does the actual counting of rows. And if you don't care about the other features, it may be the only one you use. You'll see a few things here:
These are the actual counters. The + button increments the counter, the - decrements. The 0 clears the counter.
This button zeroes all the counters. Good for starting over.
This checkbox tells the program if you're working in pattern or not. It will be more clear after you see another screen, but for now, if you have a pattern that's a set number of rows long and you want to keep track of pattern repeats automatically, check this box. Otherwise uncheck it.
Progress bar. Right now this is only really accurate for rectangles. It can be set on another screen to judge your completed percentage by either the number of rows or repeats done.
Shall we move on? To change to another screen, click on another tab.
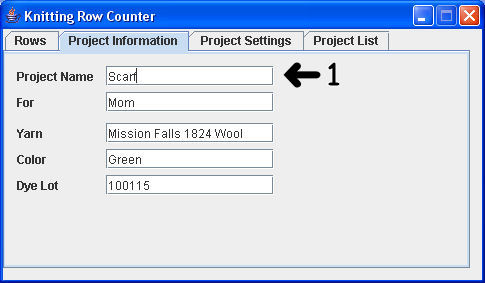
Basic project information for those who tend to forget, like me.
This should all be fairly self-explanatory. Nothing's required. Honestly. :)

Here's the harder bit. Bear with me, I'll try to help you make sense of it.
Remember that checkbox on the first screen? Here's where you set the number of rows in your repeat. When you get to this number of rows, the row counter will go back to zero and the pattern repeat counter will increment.
Total rows in your project. This is used to draw the progress bar on the first screen. Omit it if you like. Obviously, if you don't set it, the progress bar won't be right, but the world won't end. I promise.
Total pattern repeats. Same as #2.
Also used for the progress bar. Lets you tell the program if you're tracking progress by number of rows completed, or number of pattern repeats.
Gauge information for your reference. Later on I plan to include a calculator, but not now.
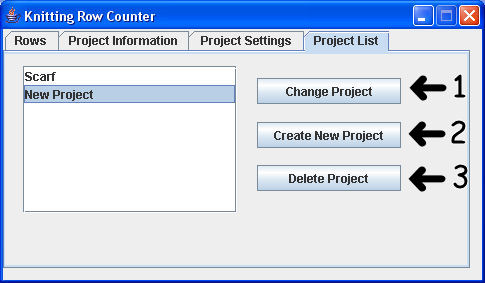
Almost done! And as we all know, almost every knitter has more than one project going at a time. Here you can switch between projects.
To change between existing projects, highlight the project you want to switch to in the list, then click this button. Your old information is saved for you.
Just cast something new on? Make a place for it here.
Finished with something? Highlight the project and click this button. And the program won't judge if you decided to frog the project. The programmer understands.
If there's something wrong or something that's not clear, please let me know.